In today’s tutorial, we will be describing the process to create an AWS Free Tier account which can be used free for 12 months. Follow the below steps to create the account.
Go to https://aws.amazon.com to start the account registration.
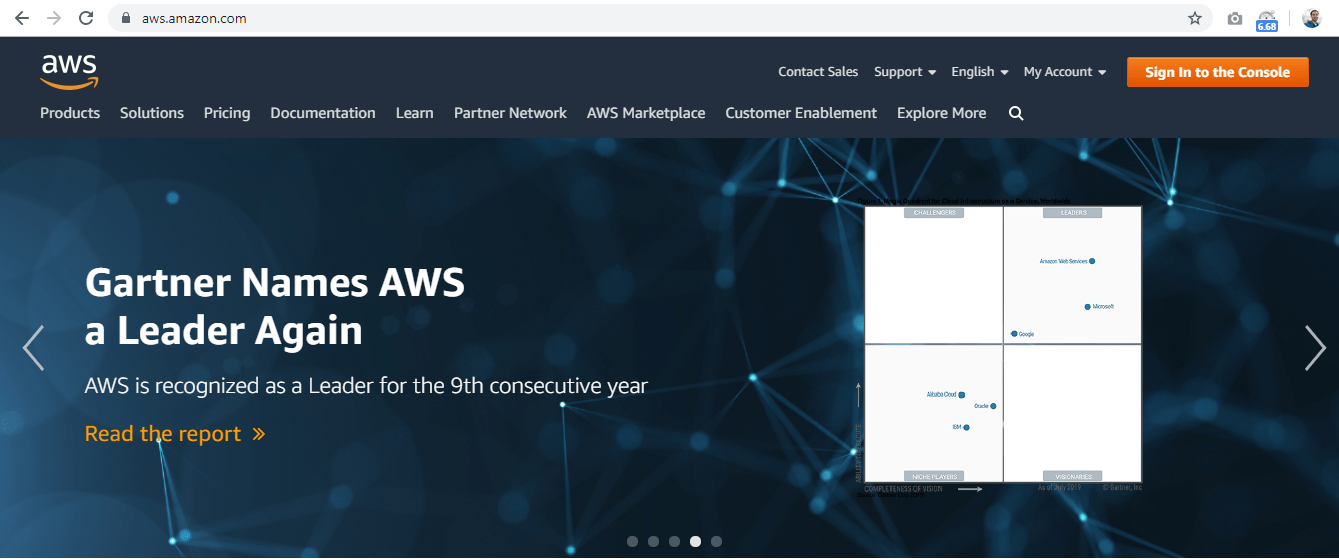
Next, click on Sign In to the Console.
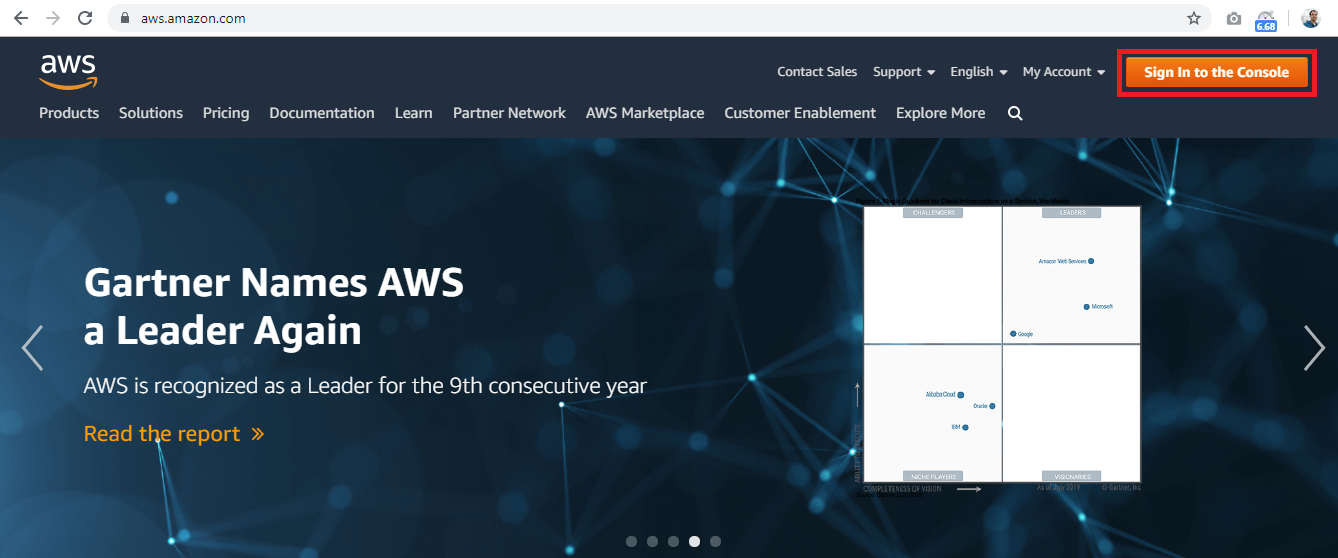
Next, click on Create a new AWS account.

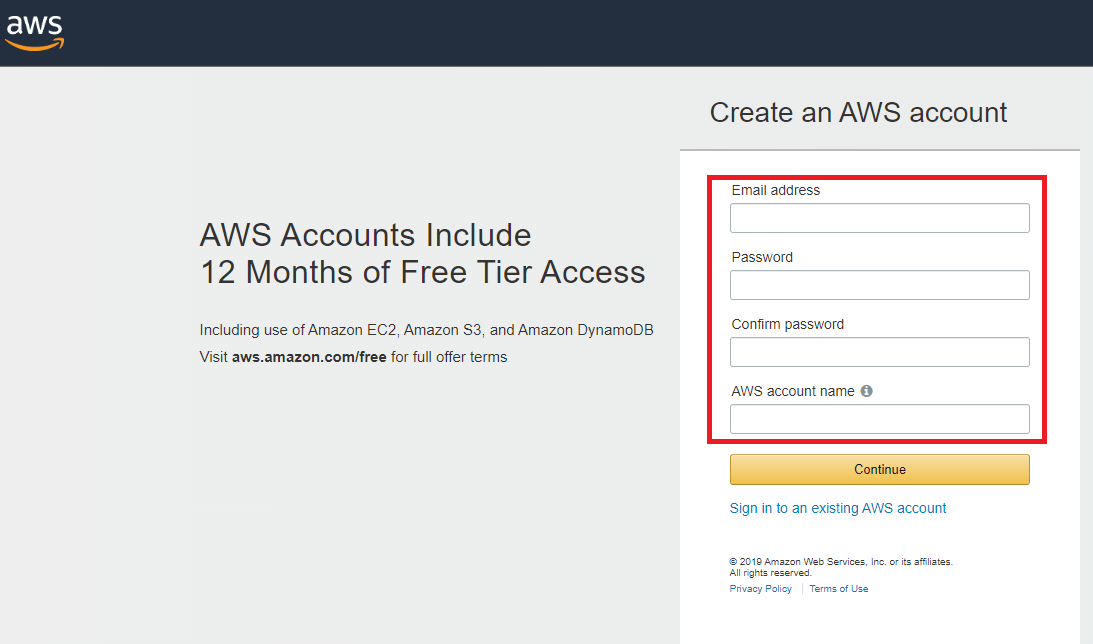
Enter all required details and click on Continue.
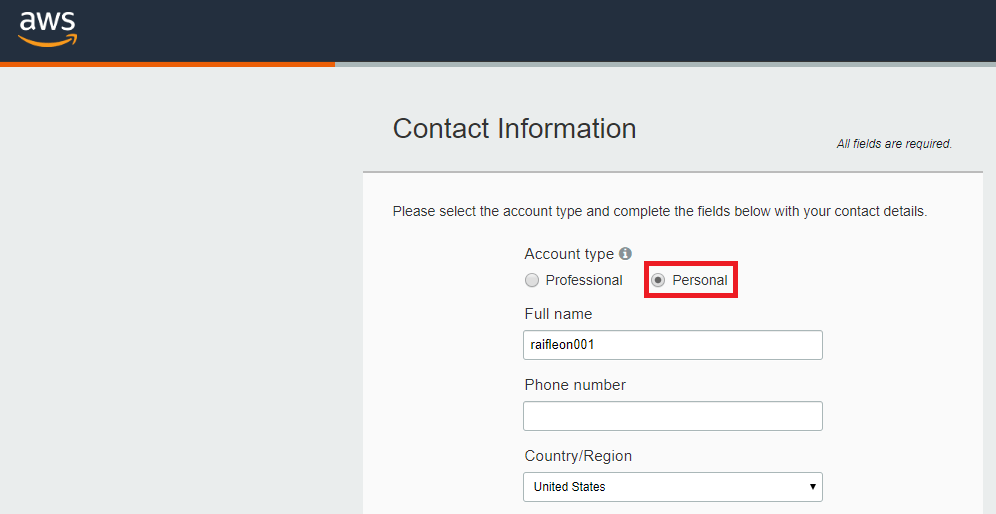
Select account type as Personal and fill the required details and click on Create Account and Continue.
Next, enter card details for verification of account and select YES/NO in PAN field and click on Verify and Add to proceed.
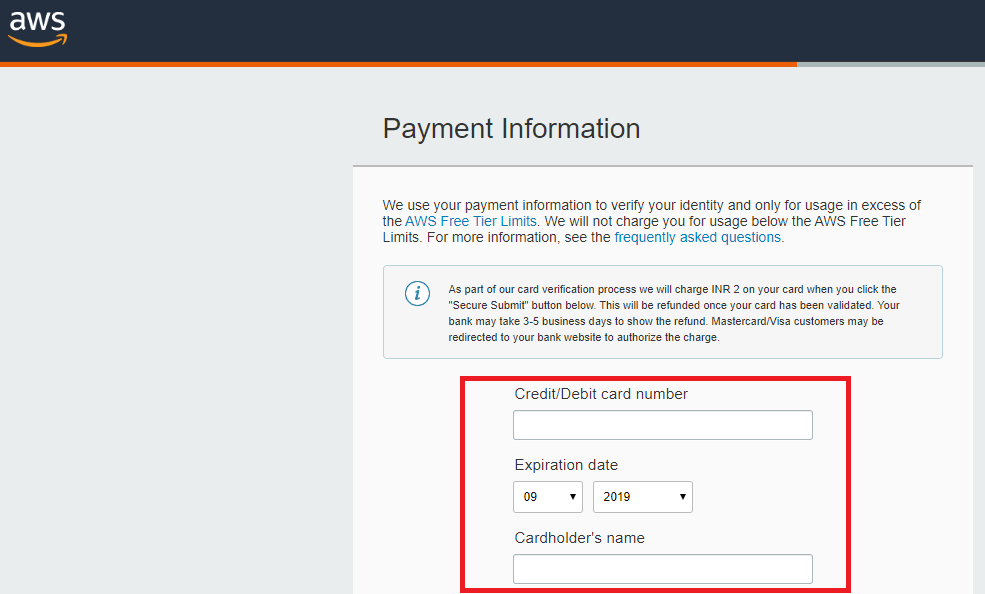
Next, it will be redirected to the payment page and your card will be debited with 2 INR as a verification process which will be refunded back. Complete the payment process.
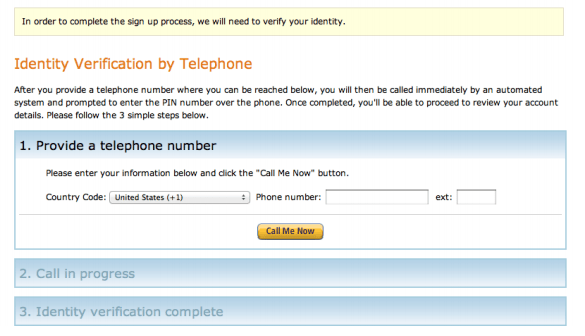
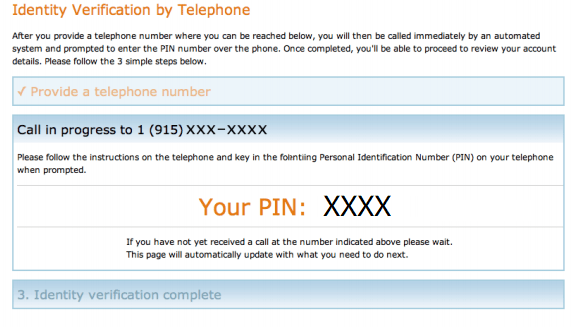
Next is the identity verification. Amazon will call back to the provided contact number to verify the number. Enter your phone number and the security check characters, then click Call Me Now. The Identity Verification screen displays a PIN.
When you receive a phone call from AWS, enter the PIN.
Once your verification is complete just click Continue to select your Support Plan. Leave the default selection and click Continue.
Wait a couple of minutes for account creation to complete on the back end, then click Sign in to the Console. If prompted, enter your email address and password and then it will redirect to the AWS management console.
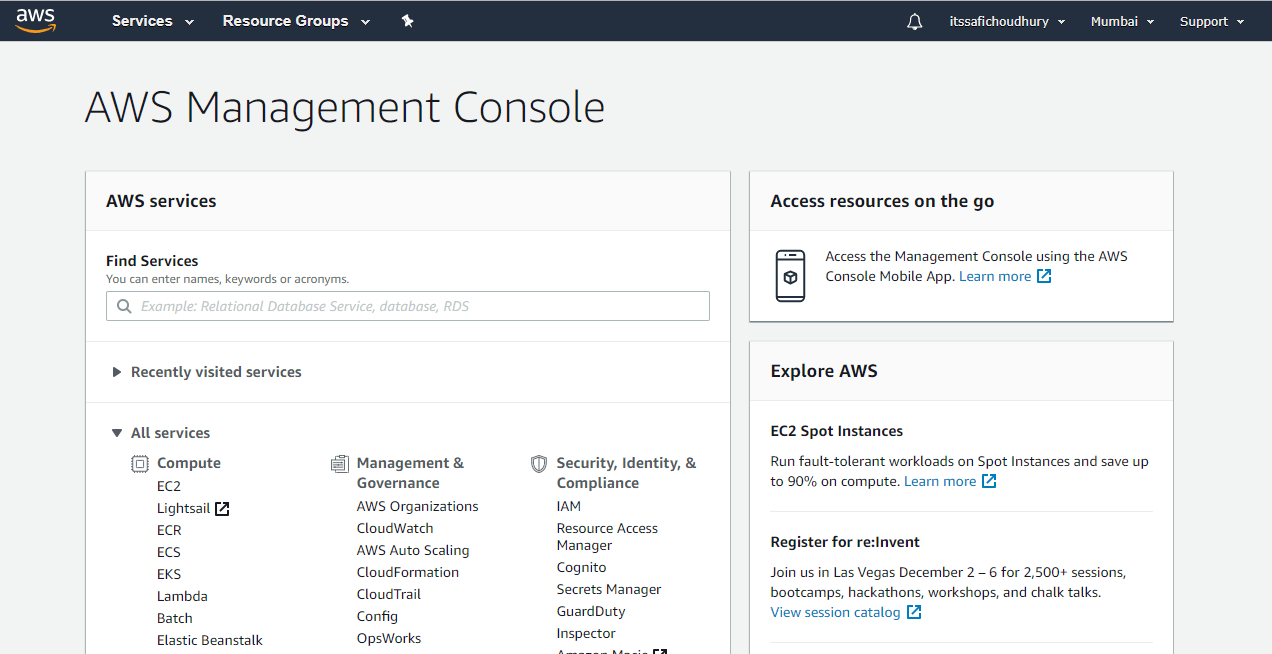
Now the account is created and can be used to avail AWS free tier services. The other AWS tutorials are as follow: