PHP (recursive acronym for PHP: Hypertext Preprocessor) is a widely-used server side scripting language, and a powerful tool for making dynamic and interactive Web pages. PHP is free to download and use.
By default, PHP 5.4 is available in CentOS 7 yum repositories. Here we will discuss how to install PHP 7.0, PHP 7.1 and PHP 7.2 on CentOS 7 server.

Installation Steps:
First we will install the yum-utils and EPEL repository.
# yum install epel-release yum-utils -y
Now, download and install the remi repo:
# yum install http://rpms.remirepo.net/enterprise/remi-release-7.rpm
Next we will configure the PHP repository based on our requirement:
For PHP 7.0:
# yum-config-manager --enable remi-php70
For PHP 7.1:
# yum-config-manager --enable remi-php71
And, for PHP 7.2:
# yum-config-manager --enable remi-php72
Next, install the dependencies (if required):
# yum install php php-common php-opcache php-mcrypt php-cli php-gd php-curl php-mysql -y
Finally, verify the PHP version installed on the server.
# php -v
PHP 7.2.7 (cli) (built: Jun 20 2018 08:21:26) ( NTS )
Copyright (c) 1997-2018 The PHP Group
Zend Engine v3.2.0, Copyright (c) 1998-2018 Zend Technologies
    with Zend OPcache v7.2.7, Copyright (c) 1999-2018, by Zend Technologies
Note: In order to reload the PHP files after making changes we need to restart HTTPD (Apache Web Server) service. The commands to start, stop, restart and check status of HTTPD (Apache Web Server) service are:
Start Service:
# systemctl start httpd
Stop Service:
# systemctl stop httpd
Restart Service:
# systemctl restart httpd
Check status of Service:
# systemctl status httpd
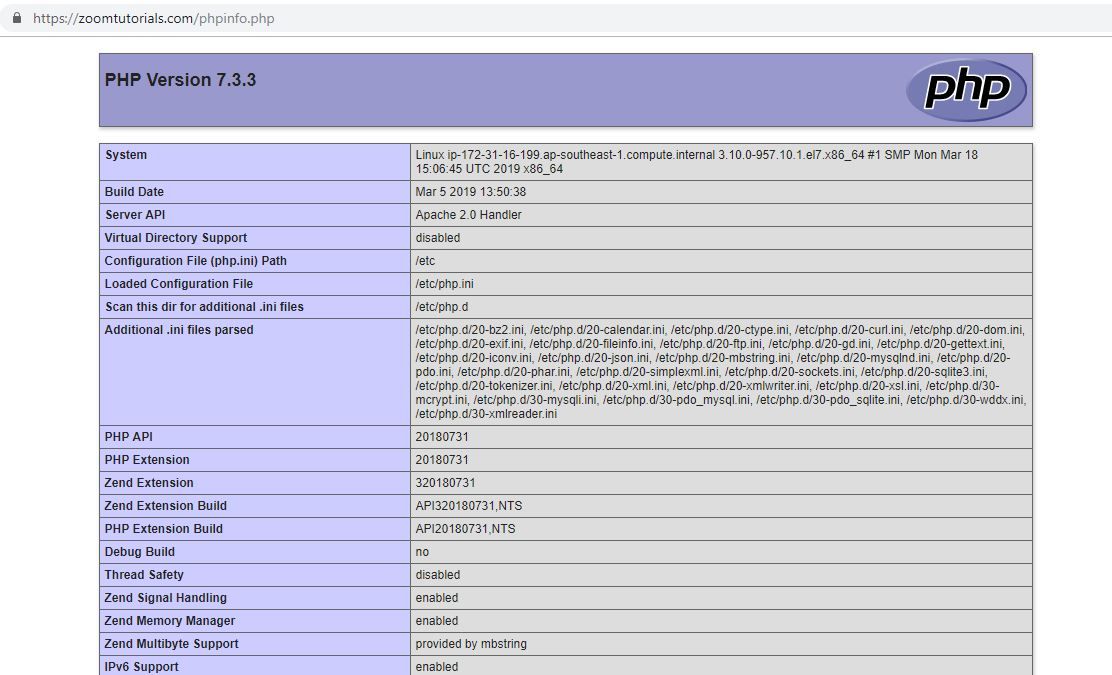
Lastly, we can check the PHP server info through the phpinfo.php file. Make a phpinfo.php file in the html folder root.
# <?php

// Show all information, defaults to INFO_ALL
phpinfo();

// Show just the module information.
// phpinfo(8) yields identical results.
phpinfo(INFO_MODULES);

?>
Next, open browser and browse http://Server-IP-Address/phpinfo.php, you will be able to veiw all the PHP information in the page.
This completes the installation. Please share your feedback and comments in the comment section below.
Thanks!