This tutorial explains how to configure multiple HTTPS site on a single IP using Server Name Indication (SNI). The process is split into two parts:
- Configuring multiple sites.
- Installing SSL and binding to the HTTPS URL.
Configure the websites
Please follow below steps to configure webiste in IIS:
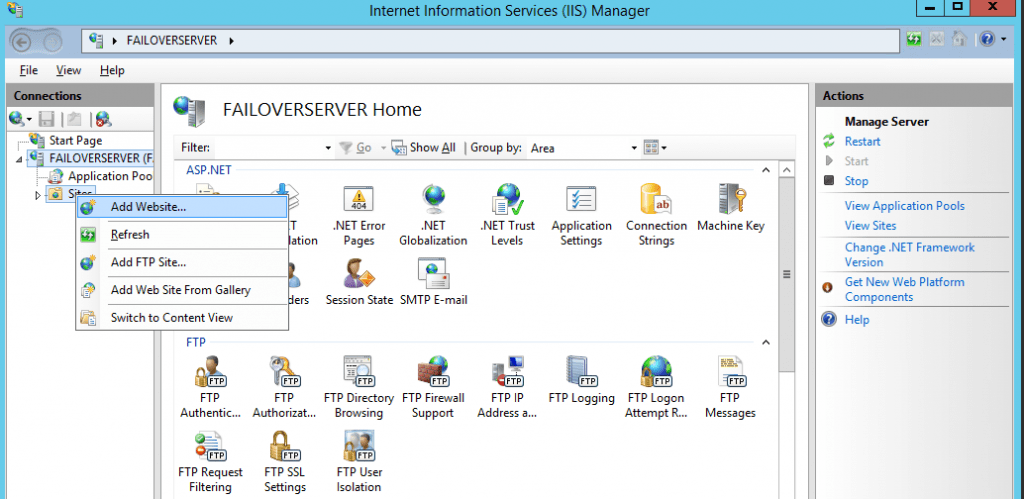
- From the Start screen, find Internet Information Services (IIS) Manager and open it.
- In Internet Information Services (IIS) Manager, in the Connections pane, expand the name of the server.
- Right click on sites and Add website.
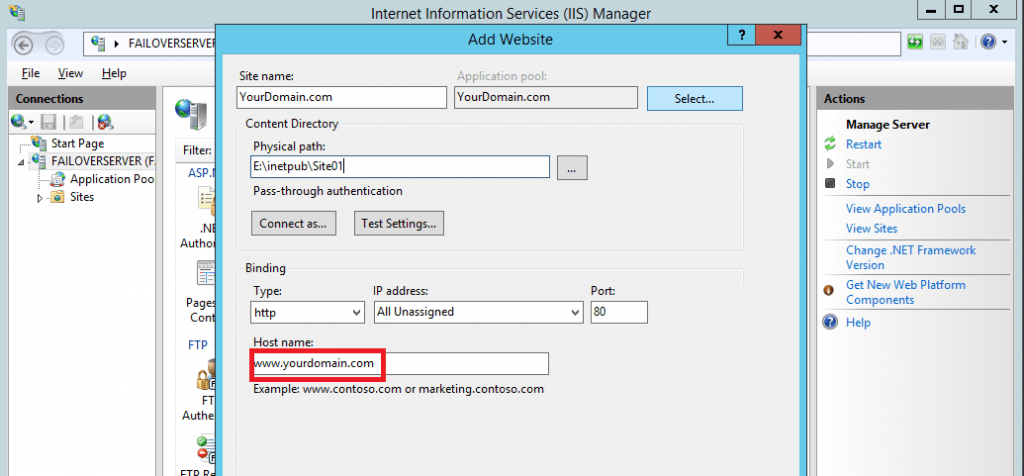
4. Provide Site name, Application pool, Physical path and the most important in hosting multiple site on single IP is the Host Name and click OK.
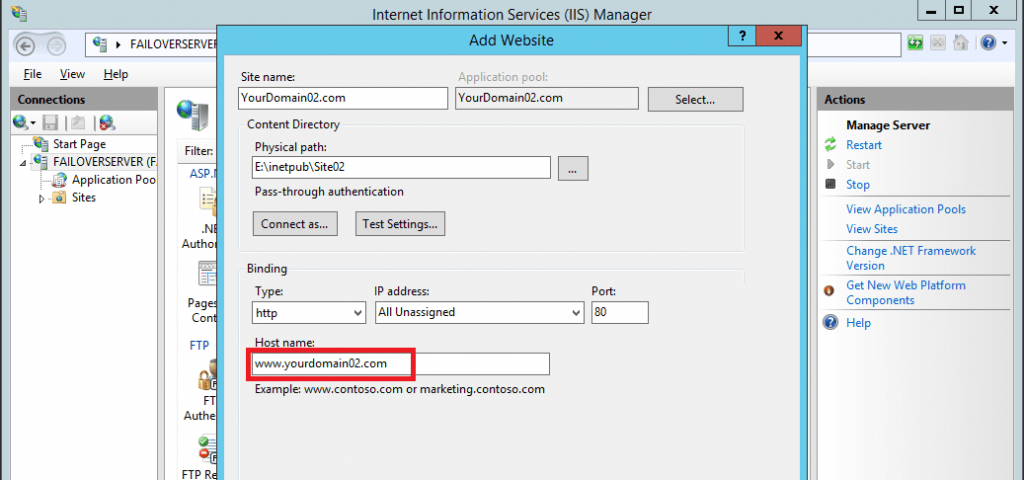
5. Create the second site by repeating above steps and providing the correct site, path and host name.
Now that both the websites are created, we need to install and configure the SSL certificate.
Installing SSL and binding to the HTTPS URL
Please click this link to go to my previous post regarding SSL installation.
Now that you’ve successfully installed your SSL certificate, you need to configure your site to use it.
Please follow below steps to configure the SSL site:
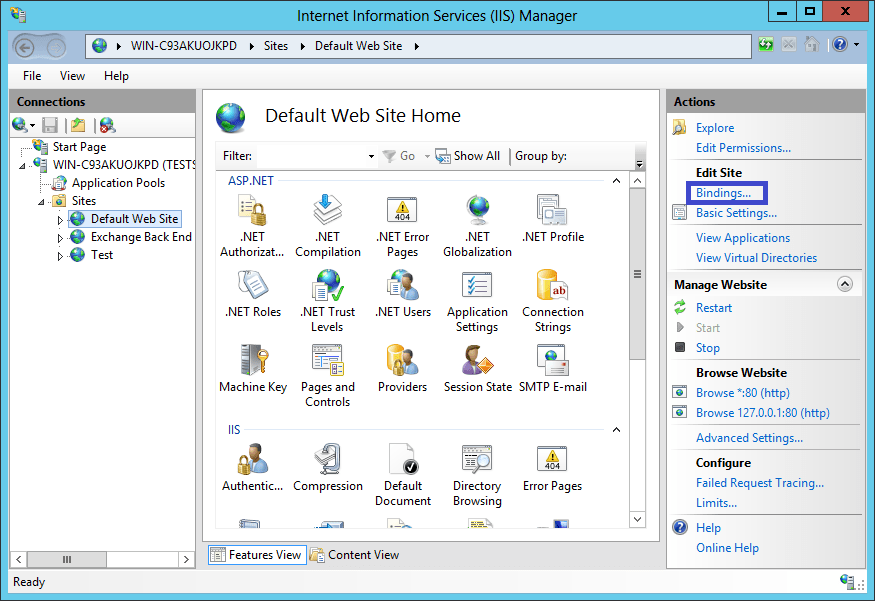
- In Internet Information Services (IIS) Manager, in the Connections pane, expand the name of the server on which the certificate was installed. Then expand Sites and click the site you want to secure using the SSL certificate.
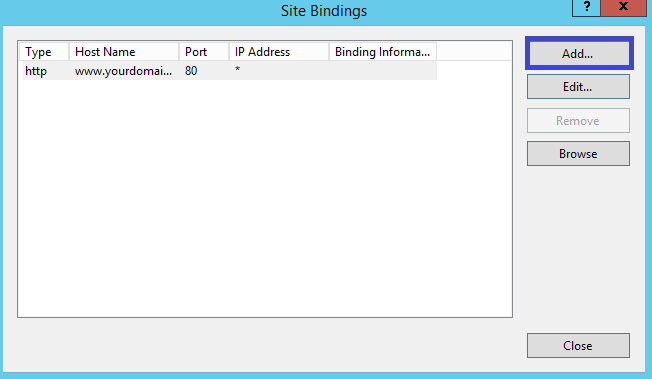
- In the Actions menu (right pane), click Bindings.
3. In the Site Bindings window, click Add.
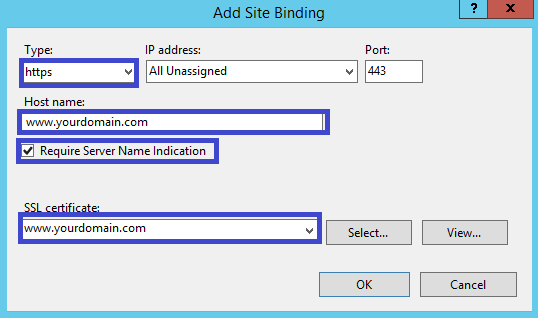
4. In the Add Site Binding window, do the following and then click OK.
| Type: | In the drop-down list, select https. |
| IP address: | In the drop-down list, select the IP address of the site or select All Unassigned. |
| Port: | Type 443. (SSL uses port 443 to secure traffic.) |
| Host name: | Type the host name that you want to secure. |
| Require server name indication: | Select this checkbox after you enter the host name. Note: This option is required for any additional certificates/sites after installing the first certificate on the primary site. |
| SSL certificate: | In the drop-down list, select the SSL certificate you installed in Step 7 (e.g., yourdomain.com). |
5. Repeat the same steps to configure SSL for the second site with the inputs as shown below.

You have successfully installed and configured multiple HTTPS sites on a single IP.